A commenter asked me to a do a food photography tutorial. I'm honored by the request and still plan to put together a short film detailing some of my techniques. Until then, I'd like to direct you to a comprehensive food photography tutorial courtesy of Vegan Yum-Yum. An excerpt:
Plan Ahead
Do as much as you possibly can ahead of time. Food should be photographed as soon as possible after preparing, which means you’ll need a space for photographing ready to go, an uncluttered kitchen, etc. Here’s what I do before I start cooking:
- Clean up, do all the dishes, clear countertops
- Pick out dishes
- Set camera up on tripod, pick out background
- Clear your photography space
- Think about the dish: do you need a garnish? Special utensils? Placemat?
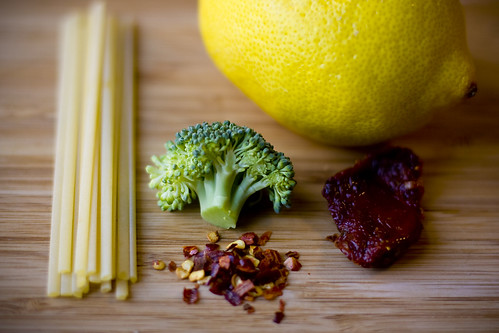
Mise en Place
Prepping all your ingredients neatly will keep your kitchen more organized, cut down on cooking time, and allow you to focus on the task at hand. And mise en place photographs make for killer filler photos, as well!
There are a few key take-aways from Lolo's post. First, do a little prep work. Being organized and having a clear idea of what you want to accomplish will do much for your photography. Also, use natural light if you can get it.
I have neither time, resources, nor the inclination to purchase a lot of festive dishes. I have white plates and some dark plates and those mostly suit my needs. The one thing I might recommend, if you're really pressed and want to take one step towards a prop closet is a rustic, earthy bowl. I'm thinking of purchasing one--wide and shallow--for soup photos this coming winter.


No comments:
Post a Comment